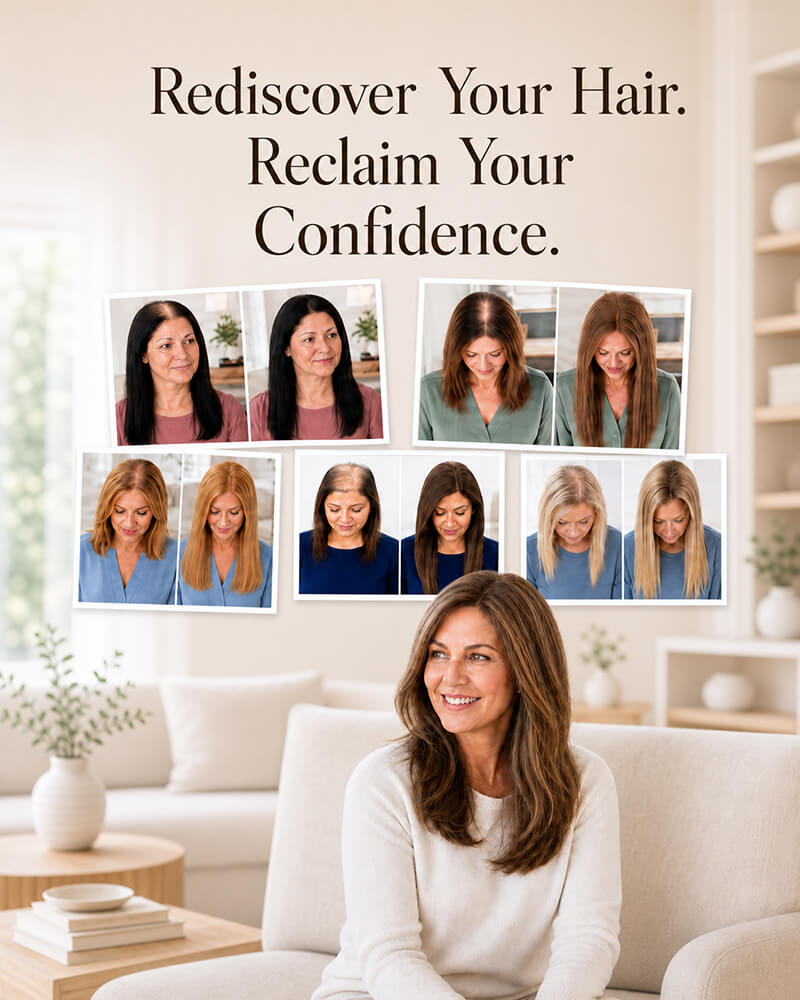

A new topper can feel confusing when the clips, part, and blending all need attention. I use a simple order that makes the process manageable.
I put on a hair topper by preparing my natural hair, positioning the front edge, securing the clips from front to back, and blending both hair layers. Most beginners can learn the routine quickly, then style the topper in loose ponytails, half-up looks, waves, or a face-framing cut.

I do not chase a perfect result on the first try. I first learn secure placement, then improve the part, perimeter, texture, and style one detail at a time.
Are Hair Toppers Hard to Put On?
The first attempt can feel awkward, and repeated repositioning can become frustrating. I make the learning curve easier by separating placement from styling.
I do not consider clip-in hair toppers hard to put on. A beginner usually needs a mirror, clean sectioning, and several practice sessions. The key is to position the topper before closing any clips, then secure it without pulling the natural hair or scalp.

What feels difficult at first
I notice that most beginners struggle with three things rather than the topper itself. First, they place the front edge too far forward or too far back. Second, they close one clip before checking the center line, so the whole piece sits at an angle. Third, they try to style loose hair while the base is still moving. I solve these problems in order. I hold the topper above the coverage area and line its part with my chosen part. I check both sides in a second mirror. I press the base flat without stretching it. Then I close the front clip, the back clip, and the side clips. I stop immediately if I feel pinching or pulling. A secure topper should feel stable, but it should not feel painful. After several calm practice sessions, my hands remember the position and the process becomes much faster.
| Beginner problem | Likely reason | My quick correction |
|---|---|---|
| The topper looks crooked | The part was not aligned first | I reopen every clip and center the part |
| The base lifts | The clips caught too little hair | I take a slightly wider, flat section |
| The scalp feels sore | The clips or hairstyle are pulling | I remove it and choose a lower-tension position |
| The edge shows | The placement or density is wrong | I move the edge back and blend a thin veil of hair |
How Do I Put On a Hair Topper by Myself?
Trying to clip, center, and blend at the same time creates mistakes. I use one repeatable sequence so each hand has only one job.
I put on a topper by opening all clips, preparing a flat anchor area, aligning the topper part, and holding the base firmly in place. I close the front clip first, then the back and sides. Finally, I check comfort and blend my natural hair with the topper.
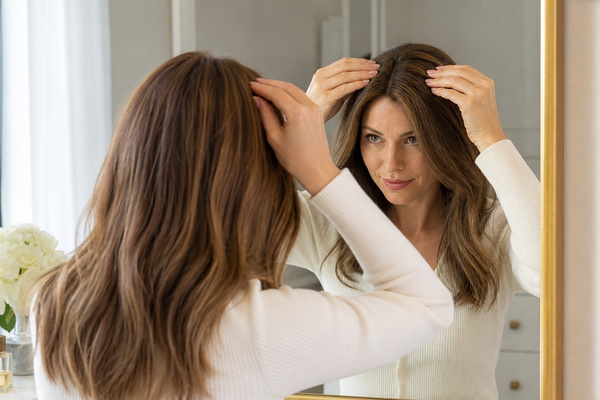
My seven-step mirror routine
I begin with dry, detangled hair because a clean surface is easier to section and control. I decide where the front edge should sit before I touch a clip. I usually place it behind the natural hairline unless the product is designed to create a front hairline. I open every clip and hold the topper by the base, not by the hair. I align the topper part with my own part and lower the base onto the thinning area. I use one hand to keep the base flat while the other closes the front clip into a small, flat section of natural hair. Then I close the back clip and both side clips. I gently move my head, check every edge, and reopen any clip that pinches. I finish by bringing a small amount of my own hair over the perimeter and combing both layers together.
- Detangle and part the natural hair.
- Open every topper clip.
- Choose and check the front position.
- Align the topper part with the natural part.
- Close the front, back, and side clips.
- Check security without accepting tension.
- Blend the perimeter, lengths, and ends.
How Much Time Does It Take to Apply a Silk Hair Topper?
A long first application can make a silk topper seem impractical. I treat early attempts as fitting practice, not as the final daily routine.
I usually allow 10 to 15 minutes for a beginner to position, secure, and blend a silk hair topper. After the placement becomes familiar, the same routine may take about 3 to 5 minutes. Extra curling, straightening, or restyling adds more time.
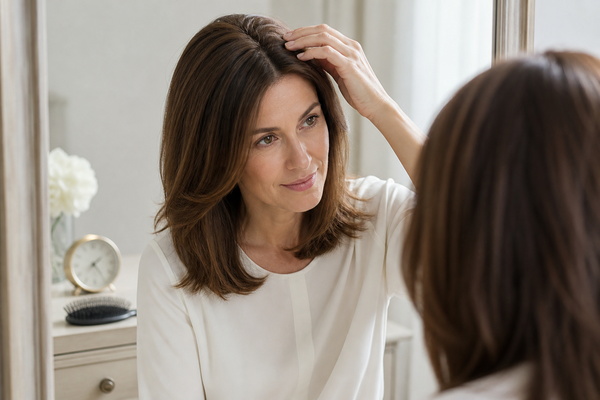
Why application time changes
I separate application time from styling time because they are not the same task. Application includes finding the front position, lining up the part, closing the clips, and checking comfort. Styling includes changing the part, smoothing flyaways, adding waves, or matching the ends. A silk base can look very scalp-like, but I still need to place it carefully so the part sits in a believable area. A larger base may need more attention around the perimeter, while a familiar custom-sized piece often becomes easy to position. New users also spend time checking the result from every angle. That checking is useful at first. I recommend taking a clear photo after a successful fit. The next morning, I can copy the same part, front distance, and clip locations instead of starting from zero. This simple reference can cut several minutes from the routine.
| Routine stage | Beginner estimate | Practised estimate |
|---|---|---|
| Position and secure | 5–8 minutes | 1–3 minutes |
| Check comfort and edges | 2–3 minutes | Under 1 minute |
| Basic blending | 3–4 minutes | 1–2 minutes |
| Optional heat styling | 5–15 minutes | 5–10 minutes |
Can I Wear a Hair Topper in Different Hairstyles?
Many beginners worry that one topper means one fixed look. I choose styles around the base size, fiber, length, density, and parting area.
I can wear a hair topper in many hairstyles, including straight looks, soft waves, side parts, half-up styles, low ponytails, loose braids, and gentle updos. The best choices keep the base covered, avoid hard pulling, and match the topper’s fiber and construction.
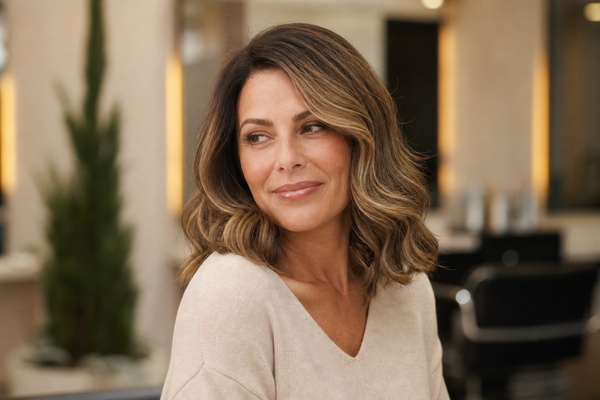
Match the hairstyle to the topper
I first check whether the topper is human hair, heat-friendly synthetic fiber, or standard synthetic fiber. Wikipedia’s overview of artificial hair integrations explains that newer synthetic fibers1 may tolerate heat processing, while most synthetic hair should not be used with curling irons, flat irons, or straightening combs. I also look at the base. A topper with a flexible parting area supports more part changes. A small base can disappear easily in a half-up look, while a larger base may give better crown coverage but needs more hair left loose over its edges. I keep the shape soft and slightly imperfect because movement helps both layers look like one head of hair. I avoid forcing a dramatic style that exposes the perimeter. When I want a different look, I change one element at a time, such as the part, bend, accessory, or finish.
| Hairstyle | Usually works best when | Main check |
|---|---|---|
| Soft waves | The topper and natural hair have similar lengths | Both layers follow the same wave pattern |
| Side part | The base supports part movement | No fixed seam becomes visible |
| Half-up style | The perimeter stays covered | The tie does not lift the base |
| Loose braid | The lengths blend well | The braid does not expose short natural layers |
| Low updo | The hair remains relaxed | No clip area feels tight |
Can Hair Toppers Be Customized to My Face Shape?
An uncut topper can overwhelm the face even when its color is right. I use shape, length, density, and part placement to restore proportion.
I can customize a hair topper to suit a face shape through face-framing layers, fringe, overall length, part position, volume placement, density, and color dimension. A stylist should make major cuts while the topper is on the wearer because the natural hair and topper must form one finished shape.
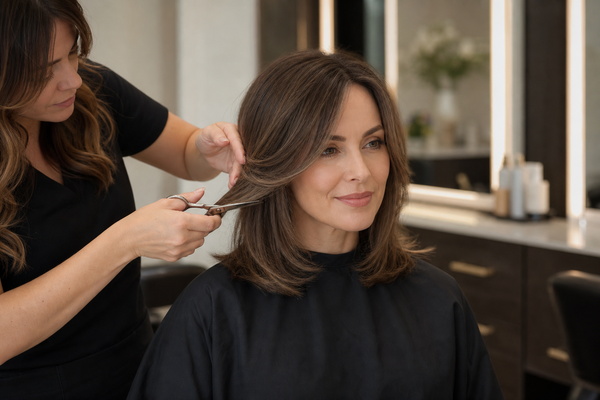
I customize proportion, not just the front pieces
I do not rely on a rigid rule that every round, oval, square, or heart-shaped face needs one fixed haircut. I look at the complete person. I consider the forehead, cheek width, jawline, neck length, natural density, and preferred daily style. I may use soft length below the jaw to create a longer visual line. I may add movement near the cheeks or keep volume away from a wider area. I can also shift the part to change how the hair frames the face. Macmillan notes that a wig can be cut and styled by a trained hairdresser or wig consultant2. I use that same specialist principle for a topper. I leave extra length until the fit, part, and blend are confirmed. Hair removed too early cannot be restored.
| Visual goal | Possible adjustment | What I avoid |
|---|---|---|
| Soften a strong jaw | Light face-framing movement | A blunt line ending at the widest point |
| Add length to the face | Vertical layers and controlled crown volume | Excess width at the cheeks |
| Balance a wider forehead | Side movement or a soft fringe | A heavy, rigid front line |
| Keep a natural profile | Match density to the wearer’s own hair | Too much height or uniform bulk |
Can You Wear Your Hair Up With a Topper?
An updo can lift the base or reveal an edge when it is pulled too tightly. I keep the style low, loose, and balanced.
I can wear my hair up with a topper, especially in a loose low bun, low twist, or half-up style. I keep tension away from the topper clips, leave enough hair over the perimeter, and check the back and sides before wearing the style outside.
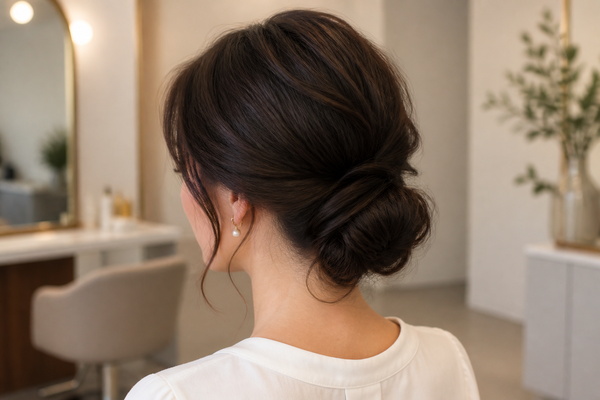
How I build a secure updo
I apply and blend the topper before I begin the updo. I never use the ponytail holder to secure the topper itself. I gather the topper hair and natural hair together with my fingers, and I stop if the base moves. I keep the tie below the main clip line so the style does not pull upward on the base. I also leave a soft layer around the perimeter when it helps hide the transition. The American Academy of Dermatology explains that repeated pulling from tight ponytails, buns, and updos can cause traction alopecia3. I therefore treat pain, stinging, or visible pulling as a reason to stop and rebuild the style. A beautiful updo should not depend on discomfort. I prefer soft pins, a fabric tie, and a little natural looseness over a hard, polished pull.
| Up style | Topper-friendly approach | Warning sign |
|---|---|---|
| Half-up | Take a light top section and keep the base flat | The front edge lifts |
| Low bun | Place the tie below the clip line | The scalp feels pulled |
| Low twist | Use several light pins instead of one tight anchor | A clip becomes visible |
| High bun | Use only if the base and density allow it | The perimeter or short layers show |
Can I Wear a Ponytail With a Hair Topper?
A high, tight ponytail can expose the blend and create uncomfortable force. I start with the easiest version and raise it only after checking every edge.
I can wear a ponytail with a hair topper, but a loose low ponytail is usually the easiest and most natural choice. I blend the topper first, gather both hair layers gently, position the tie below the topper base, and avoid pulling the front or side clips.
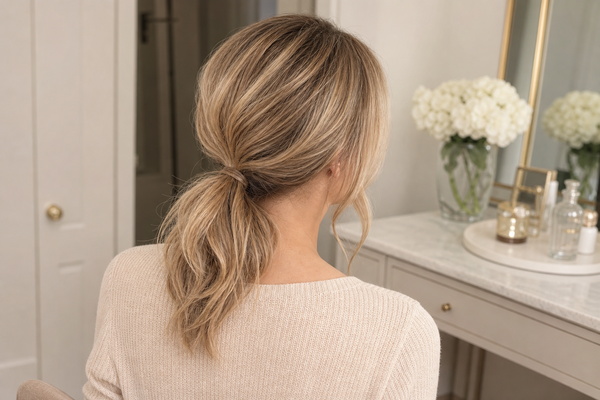
My low-ponytail method
I begin with a topper that is long enough to reach the ponytail without forcing shorter fibers backward. I secure the topper in its normal comfortable position and blend the crown before I gather anything. I then use both hands to sweep the hair toward the nape. I keep the movement light, and I watch the front edge in a mirror. If the part shifts or the base lifts, I release the hair and start again with less tension. I use a soft elastic and wrap it only as tightly as needed to hold the hair. I may leave two face-framing pieces loose because they soften the style and reduce the need for a severe pull. A second mirror helps me check the back. I confirm that the natural hair and topper ends do not separate into obvious color or texture bands. For a fuller ponytail, I add gentle bends before gathering rather than pulling the tie tighter.
| Ponytail position | Difficulty | My recommendation |
|---|---|---|
| Low at the nape | Easy | Best starting option for most beginners |
| Mid-height | Moderate | Check the lower base edge and short layers |
| High | Difficult | Use only when the topper design and length allow it |
| Side ponytail | Moderate | Keep the crown balanced and the part believable |
How Do I Blend My Natural Hair With a Topper?
A visible line between two hair layers can make a good topper look artificial. I blend color, density, texture, parting, and ends as one system.
I blend natural hair with a topper by matching the color and texture, aligning the part, covering the perimeter with a light veil of hair, and styling both layers together. I also match the topper’s density and length to my own hair so the crown and ends connect naturally.
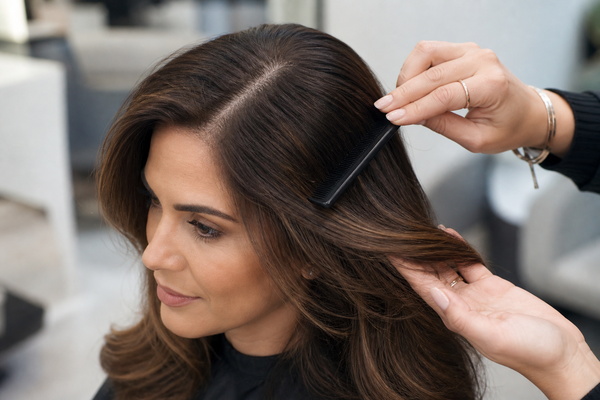
Blend from the crown to the ends
I start with color because no styling trick can fully hide a strong mismatch. I compare the topper with the middle lengths and ends in natural daylight, while also checking whether the root needs depth. Next, I align the part and use a small amount of natural hair near the front or side to soften the edge when the design allows it. I comb the topper and natural hair together in vertical sections rather than brushing only the surface. Then I match the texture. I can add a shared soft wave or smooth both layers, but I always follow the topper maker’s heat guidance. A controlled study of hair shaft damage4 found progressively greater surface damage as drying temperature increased. I use the lowest effective setting, work on dry hair, and limit repeated passes. Finally, I check the ends. A stylist can soften a heavy line or connect different lengths so the topper moves with the wearer’s own hair.
| Blend area | What I match | Common mistake |
|---|---|---|
| Part and crown | Direction, spacing, and root depth | Placing the topper against the natural growth pattern |
| Perimeter | Coverage and density | Using too much hair and creating a bulky edge |
| Mid-lengths | Texture and movement | Curling the topper and natural hair separately |
| Ends | Length, weight, and color | Leaving a blunt, disconnected line |
Conclusion
I get the best beginner result by learning placement before styling. I secure the topper without tension, blend from the part to the ends, and choose loose styles that respect the base. Practice turns a careful 15-minute routine into a quick daily habit.
References
Wikipedia explains heat-resistant synthetic hair fibers and their styling limitations. ↩
Macmillan explains that trained hairdressers and wig consultants can cut and style hairpieces. ↩
AAD defines traction alopecia and links it to repeatedly tight hairstyles. ↩
PMC reports greater hair-surface damage at higher drying temperatures. ↩