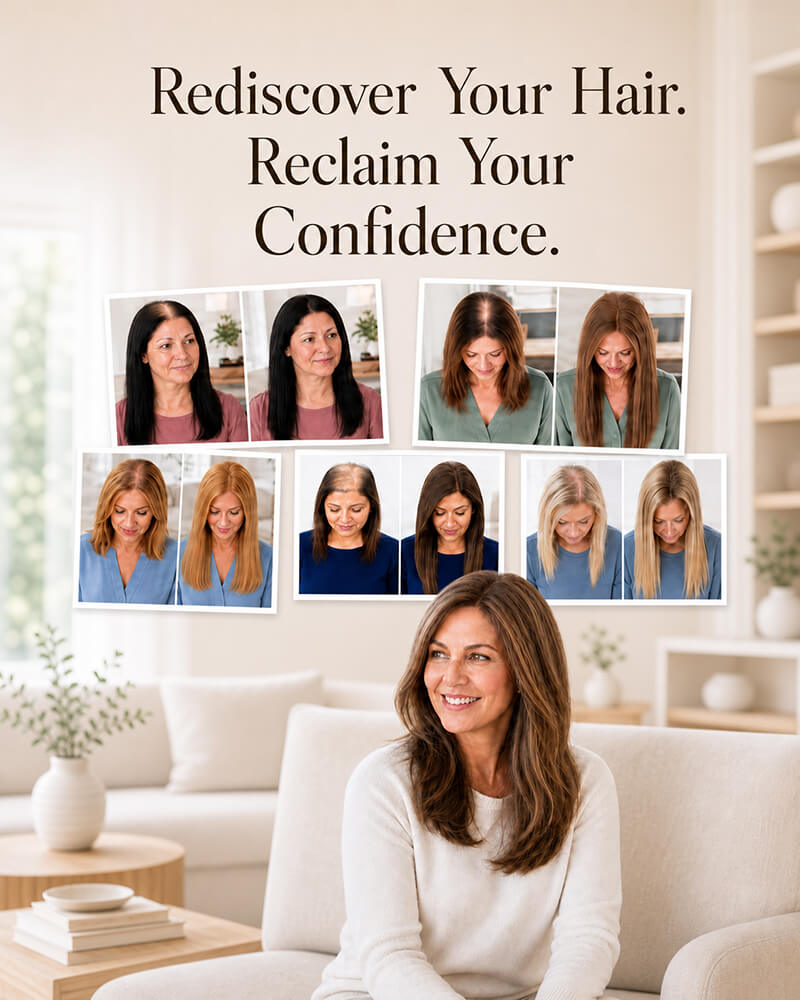

Short hair can expose every difference in length, color, and density, so even a high-quality extension may look separate without a careful blending plan.
To blend hairline extensions with short hair, I match the shade, density, texture, and realistic finished length first. I position each piece beneath enough natural hair, soften any blunt perimeter, and style the natural hair and extensions together so they move as one shape.

I do not rely on curls to hide a weak match. I build the blend in stages, check it from several angles, and use styling only as the final polish.
How Do I Match Hairline Extensions to Short Hair?
A shade may look correct in the package but appear striped or heavy beside short hair. I prevent that mismatch before I attach anything.
I match hairline extensions to short hair by comparing the color with the mid-lengths and ends in natural light, choosing a compatible texture, keeping the added density believable, and selecting a length that creates a gradual transition instead of a sudden drop.
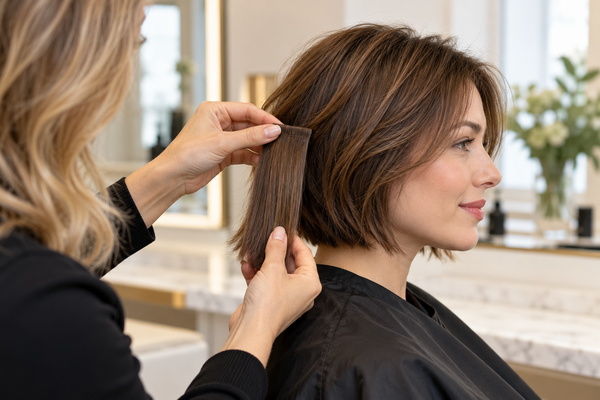
I match the finished hair, not only the roots
I start with the hair that people will actually see beside the extension. The roots may be darker, cooler, or less faded than the ends, so a root-only match can create an obvious block of color. I hold the hairline extension under the top layer and compare it in daylight, indoor light, and a phone photograph. I also check whether the natural hair is one solid shade or has several tones. When the hair contains highlights or lowlights, I prefer a blended extension shade or two closely related shades instead of one flat color. Professional hair preparation standards also treat texture, type, length, color, and shade as separate matching factors, not one decision. I use that same matching process1 for a wearable result. The extension should echo the movement of the short hair. A very silky straight piece will not disappear under a textured bob unless I prepare both textures to meet in the middle.
| Match point | What I compare | Sign that I should adjust |
|---|---|---|
| Color | Mid-lengths, ends, undertone, and dimension | A solid stripe appears in daylight |
| Texture | Straight, wavy, curly, smooth, or coarse | The extension moves differently from the top hair |
| Density | Natural fullness at the sides and front | The added hair looks wider or heavier than the haircut |
| Length | Distance from the short perimeter to the new ends | The natural ends form a visible shelf |
| Finish | Shine level and end shape | One section looks unusually glossy or blunt |
I choose a believable amount of length
I can create a longer look, but I stay realistic about how much short hair can cover. A chin-length cut usually blends more easily into a modest extension length than into very long, dense hair. I also keep hairline pieces focused on their strongest purpose: filling sparse front and side areas and connecting the face-framing shape. I do not expect a small hairline piece to replace the density of a full extension set. If the goal is a dramatic short-to-long change around the whole head, I use enough pieces for the back and sides or recommend a professional consultation. A government hairdressing guide describes extensions as additions that can be clipped, bonded, woven, or stitched to make hair fuller or longer, and it stresses planning before attachment. I follow that planning step2 so the selected piece matches the job instead of forcing one product to do everything.
Where Do I Position Hairline Extensions on Short Hair?
Short layers provide less coverage, and poor placement can reveal a clip or create a bulky ridge. I position every piece with normal movement in mind.
I position hairline extensions below a clean covering layer and slightly behind the fragile front edge. I follow the natural growth direction, keep the base flat, spread the weight across healthy hair, and test the placement while the wearer turns, touches, and parts the hair.
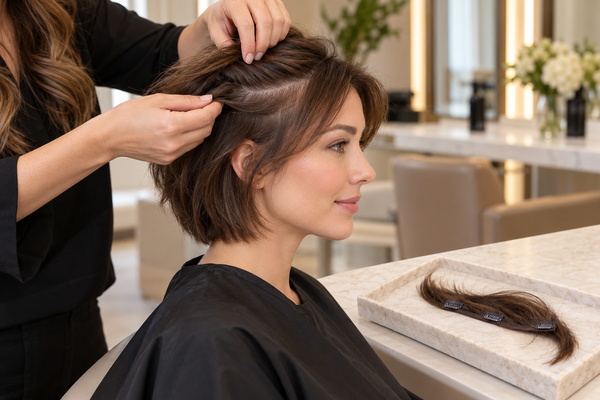
I first part the short hair where the extension will sit and leave enough hair above it to cover the base during normal movement. I avoid placing the piece directly on sparse baby hairs because those strands provide poor coverage and limited support. I open every clip before positioning, lay the base flat against the head, and close the attachment without twisting the roots. A clip-on training sequence from South Africa’s Department of Basic Education starts with dry, detangled, sectioned hair and finishes by dropping the upper section over the extensions before styling. I use that same sectioning sequence3, but I adjust the exact parting to the wearer’s density and growth pattern. I then comb the covering layer down and inspect the result from the front, side, and three-quarter view. I also ask the wearer to move naturally. A base that stays hidden only when the head is still is not truly blended.
| Placement check | What I want to see | What I correct |
|---|---|---|
| Front edge | Natural hair softens the extension perimeter | Base starts too close to the forehead |
| Side profile | The piece lies flat against the head | A clip or seam creates a ridge |
| Root direction | Natural and added hair fall together | The extension pushes hair against its growth |
| Movement | The attachment remains covered when hair shifts | Hardware appears when the wearer turns |
| Comfort | No pinching, pulling, or headache | The grip feels tight or catches too few hairs |
I check tension before I check the mirror
I want a secure fit, but I never use discomfort as proof that a piece will stay in place. I ask the wearer to raise her eyebrows, turn her head, and gently press around the attachment. If she feels pulling, pinching, soreness, or a headache, I remove the piece and choose a lighter or different position. I also check that no short section is trapped at an unnatural angle. Repeated tension can affect the roots even when the finished style looks smooth. Cleveland Clinic describes traction alopecia4 as hair loss linked to chronic or repeated pulling. That evidence is why I treat comfort as part of blending, not a separate health issue. A natural-looking result should also feel natural during wear.
How Do I Cut and Style the Final Blend?
A hidden attachment can still look artificial when short blunt ends sit above longer hair. I soften the transition instead of covering it with heavy products.
I cut and style the final blend by keeping the extension on the wearer, connecting the short perimeter with soft face-framing or internal layers, and styling both hair types together. I remove small amounts gradually and preserve enough density through the ends.
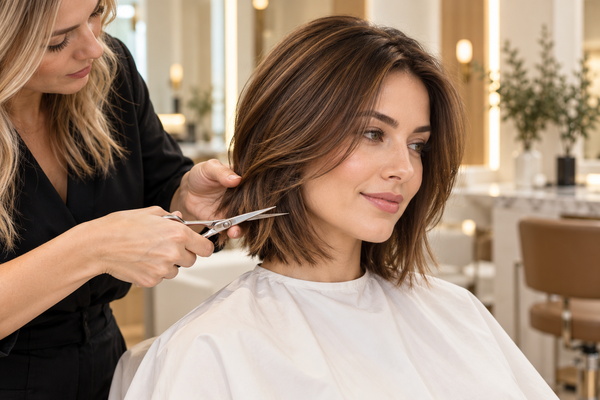
I soften the visible shelf without thinning everything
I identify the exact place where the natural haircut stops. A blunt bob often creates a horizontal shelf, especially behind the jaw and around the sides. I do not attack that line by thinning the entire extension. Instead, I connect selected areas with light point cutting, shallow slide cutting, or soft face-framing layers. I take very small amounts and check the fall after each pass because extension hair does not grow back. The basic idea of layered hair5 is useful here: shorter upper sections can transition into longer sections underneath and create the impression of connected length and volume. I preserve the perimeter density, especially when the wearer has fine hair. If I remove too much from the ends, the extension becomes wispy while the short natural layer remains obvious. For a major change, I ask a stylist to cut the piece while it is fitted on the wearer rather than trimming it on a table.
| Visible problem | My blending response | What I avoid |
|---|---|---|
| Blunt short shelf | Add a few soft connecting layers | Thinning the whole extension at once |
| Heavy front section | Create restrained face-framing movement | Cutting a new thick fringe without a plan |
| Straight texture mismatch | Smooth or wave both hair types together | Styling only the extension |
| Ends look too perfect | Soften the perimeter in small increments | A single hard horizontal cut |
| Blend separates later | Use light flexible hold and re-comb gently | Stiff product that locks hair into sections |
I style both textures as one head of hair
I treat the natural hair and the human-hair extension as one finished shape. I take sections that include both and direct the brush, iron, or curling tool through them together. A loose bend often disguises small length differences better than a perfectly straight finish, but I still make sure the dry blend works before adding waves. I use the lowest effective temperature and limit repeated passes. A U.S. Environmental Protection Agency archived hair-care guide recommends using the lowest heat setting that achieves the desired result and making sure hair is completely dry before flat ironing. I follow that lower-heat guidance6 for natural hair. I also confirm that the extension is human hair and heat-safe before using hot tools. When I blow-dry, I keep the dryer moving instead of holding concentrated heat in one place. A controlled study found that hair-surface damage increased as dryer temperature rose, while a 15-centimeter distance with continuous movement reduced damage under the tested conditions. I use that dryer technique7 as a practical reminder, not a promise that heat is harmless.
I protect the blend between wears
I remove a clip-in hairline extension before sleeping, showering, or swimming. I open every clip fully and support the natural roots as I lift the piece away. I detangle the extension from the ends upward and store it flat or in its intended holder so the cut shape stays smooth. Before the next wear, I check the base, clips, and hair for tangles or residue. I also reassess the color match because natural hair can fade or change after coloring. If the short haircut grows into a new shape, I adjust the placement or ask a stylist to refresh the blend. I do not keep adding product to hide a changing fit. A little flexible-hold spray can support movement, but heavy wax, oil, or dry shampoo near the attachment may make short hair separate into visible sections. A clean, light, correctly positioned piece usually blends better than one coated with styling product.
Conclusion
I blend hairline extensions with short hair by matching first, positioning gently, cutting conservatively, and styling both textures together. I check the result in motion because the best blend should look natural from every angle.
References
Skills England lists texture, type, length, color, and shade as separate factors when assessing and preparing hair for wigs, hairpieces, and wefts. ↩
DBE Guide outlines extension types, planning, cutting considerations, and the need to assess whether a client is suitable before attachment. ↩
DBE Training shows a clip-on sequence using dry, detangled, sectioned hair and finishes by lowering the upper hair over the extensions for styling. ↩
Cleveland Clinic describes traction alopecia as hair loss caused by chronic or repeated tension and advises reducing sources of persistent pulling. ↩
Wikipedia defines layered hair as shorter upper sections arranged over longer lower sections to create connected length and volume. ↩
EPA Archive recommends lower heat settings for styling and advises making hair completely dry before using a flat iron. ↩
Annals of Dermatology reports increasing surface damage at higher dryer temperatures and less damage with continuous movement at a 15-centimeter distance under the study conditions. ↩